Missing design drawings can leave a paddle project stuck before sampling. At SHUEN in Dongguan, I start by separating the build you want from the appearance you still need help developing.
Choose a paddle shape, face material and core on our website, then share your rough brand logo and preferred visual direction. We can use AI to create design options for you to choose from. Our designer then converts the selected direction into a paddle design that can be produced, with the details confirmed before sampling.
You do not need a finished drawing to start that conversation. Below, I explain what to send first, how to choose a visual direction, what the designer must resolve, and how to approve the sample brief.
What Can I Send Before I Have a Paddle Drawing?
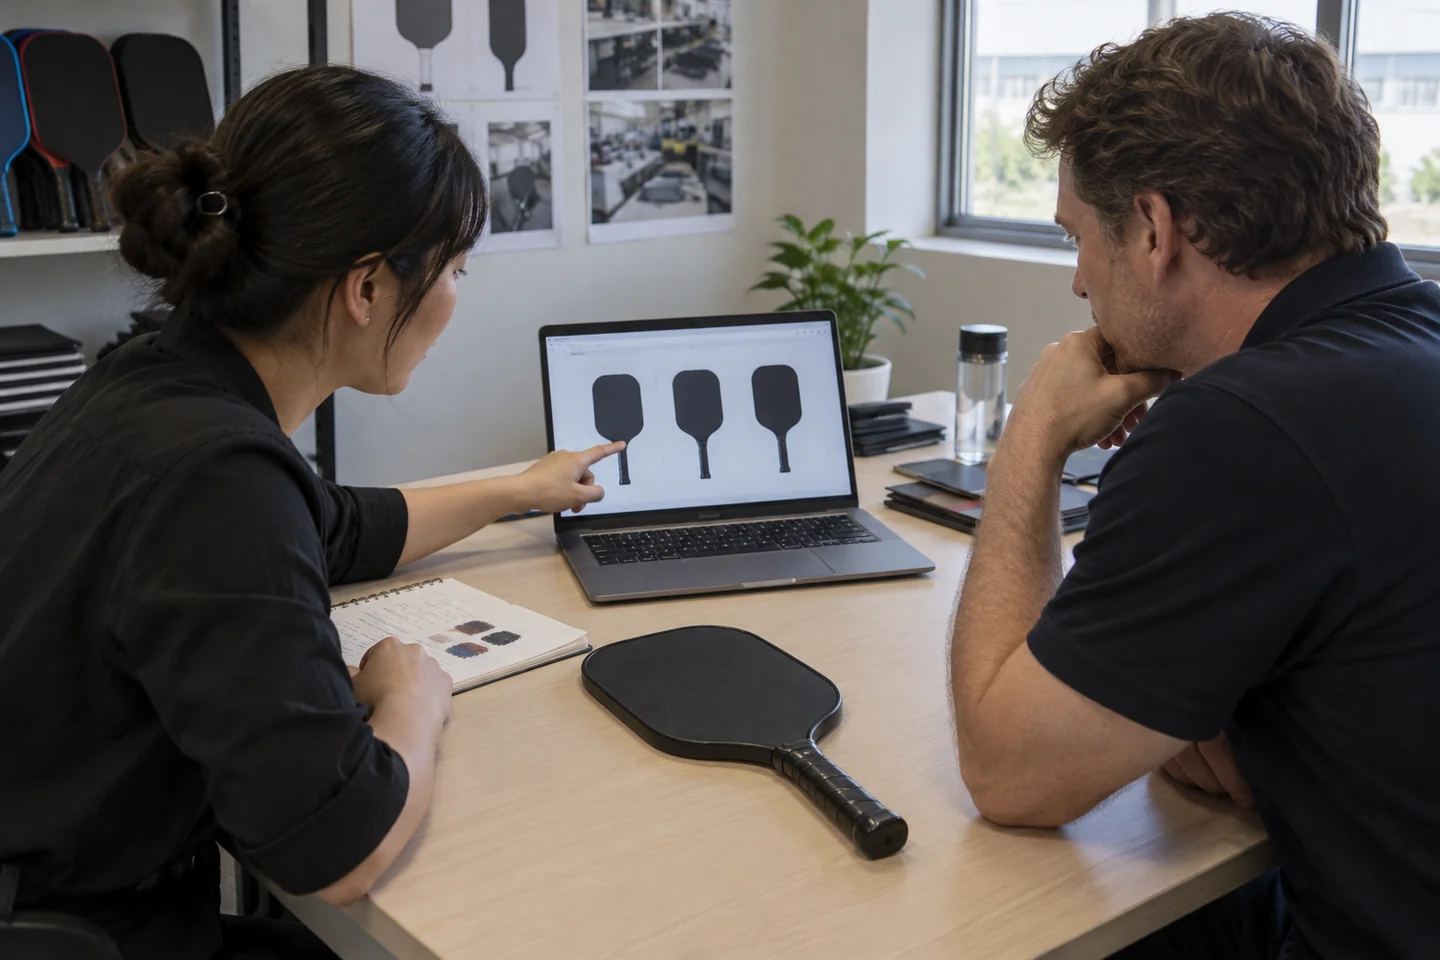
A logo tells me whose brand belongs on the paddle. It leaves the shape and construction open, so I ask the buyer to identify those choices separately.
Send your website selections for shape, face material and core, add the thickness, and attach the logo or rough brand reference you have. Mark open choices so we can discuss them.
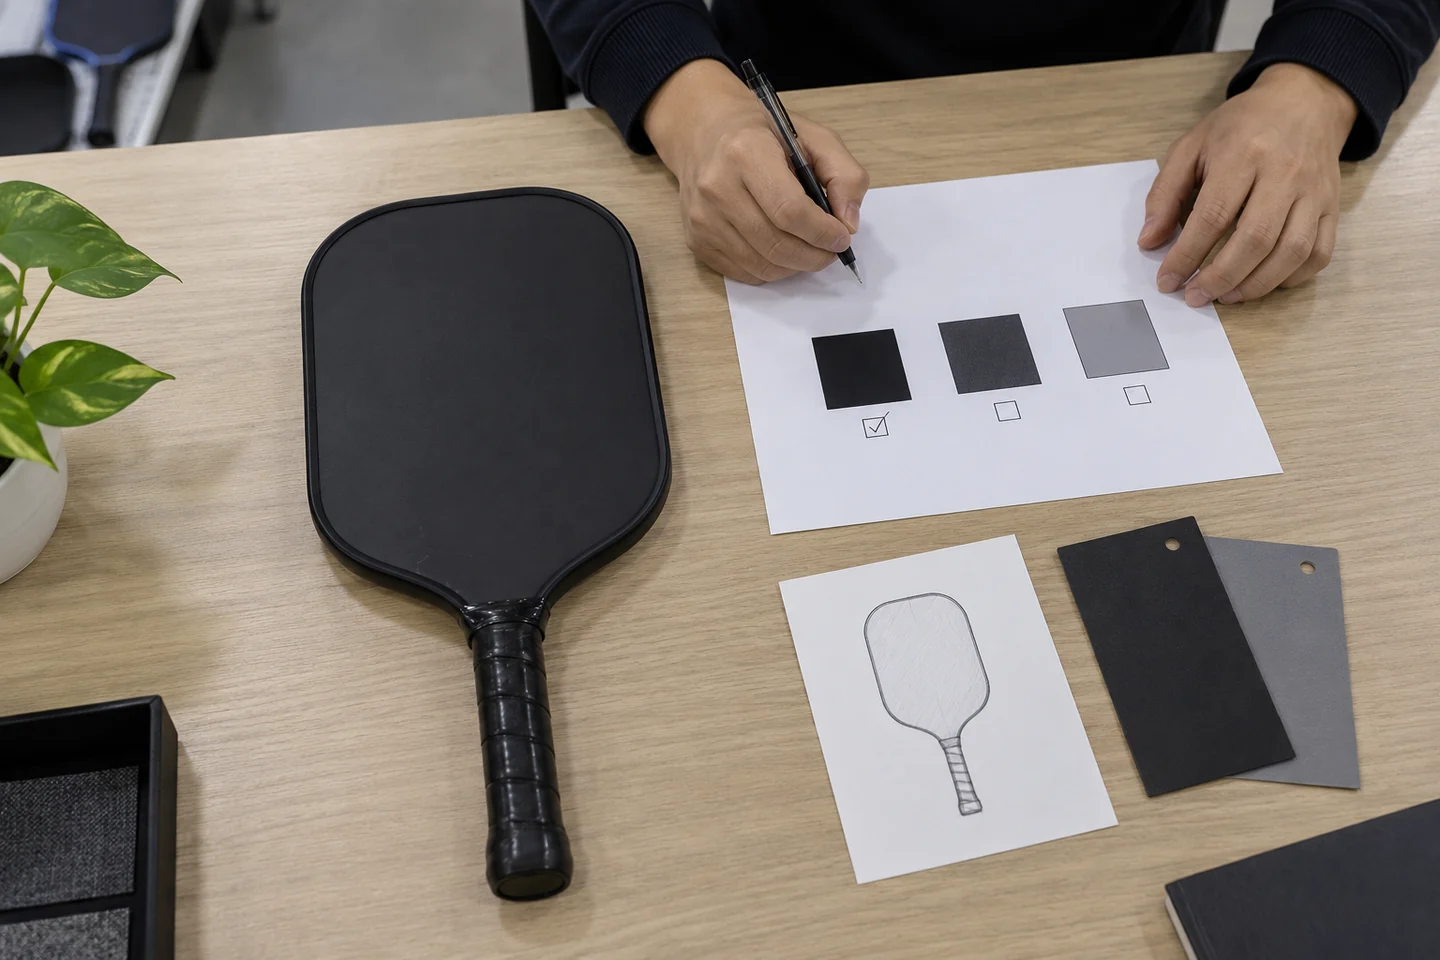
A sports-brand product lead in Auckland, New Zealand, is preparing a paddle line for online sales and local events. Her question is, “Can we start with our logo if the paddle drawing is not ready?” I ask her to send the SHUEN shape reference, preferred face and core, with her logo attached. The brief now separates the selected build from the appearance that our team needs to develop.
Identify the build without drawing it yourself
Use links, screenshots or catalog references from our custom paddle options. Circle the option you want rather than sending several unmarked pages. For each candidate, record the shape, material, core and 14 mm or 16 mm thickness together.
For example, our custom T700 paddle gives you a specific material starting point. The Toray T700S data sheet 1 describes the fiber grade; your paddle brief still needs its own shape, core and thickness. A material name does not fill those fields for you.
| Brief item | What you can send now | What I need to clarify |
|---|---|---|
| Shape | SHUEN shape link or marked screenshot | Exact selected outline and handle direction |
| Face material | Named website option | Material and any requested finish |
| Core and thickness | Core reference plus 14 mm or 16 mm | Whether the selected combination is suitable |
| Brand | Existing logo, rough logo or brand name reference | Which elements must stay unchanged |
| Visual direction | Colors and a short description | Preferred style and elements to avoid |
| Project context | Intended buyers, quantity and New Zealand destination | Sample scope and the next confirmation step |
You can leave a field open. Write “please recommend options” beside it. That gives me a question to answer; a blank field gives me nothing to confirm.
How Should I Choose Between AI Design Options?
An attractive concept can still leave the back face, logo placement or component colors undecided. I want the buyer to choose a direction and identify what needs changing.
Use the AI options to choose the visual direction. Name the preferred option, preserve the brand elements that matter, and send a short revision list rather than approving the picture as a manufacturing file.
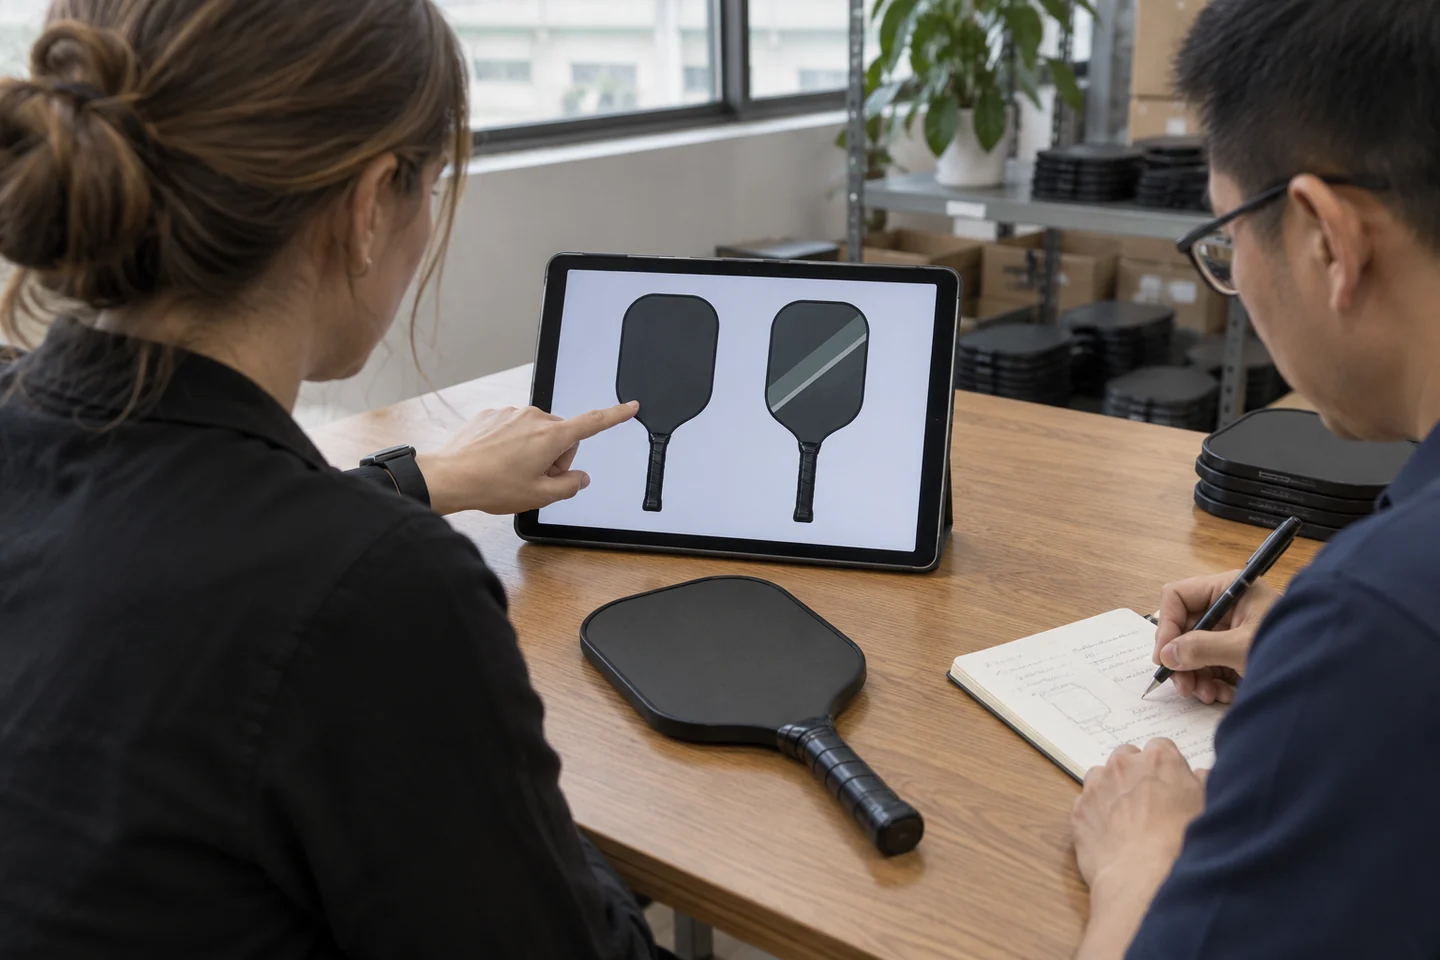
For a specialty retailer in Wellington, New Zealand, the first decision is whether a quiet face design or a more visible event design suits the brand. The buyer asks, “Can I keep the colors from one option and the logo position from another?” I record the chosen base option and list the requested changes against it. The designer receives one direction with explicit revisions instead of two competing approvals.
Give useful feedback on the concept
Say which option you prefer and why. “Keep Option B, reduce the front logo, and use the same color direction on the back” is actionable. “Make it more premium” needs another conversation.
Check that the logo spelling, proportions and orientation remain correct. AI can suggest graphics, but the designer must work from the intended brand reference. Send material you own or are permitted to use, and identify anything that should remain untouched.
| Concept decision | Useful buyer feedback | What remains for the designer |
|---|---|---|
| Base option | Name one preferred version | Build a consistent front and back layout |
| Logo | Specify the approved mark and location | Restore accurate proportions and placement |
| Colors | Give references and priorities | Confirm how the colors will be produced and reviewed |
| Pattern | Identify what to retain or remove | Rebuild the selected graphics for the actual outline |
| Components | Name edge, grip, ring and butt-cap preferences | Separate printed artwork from component requirements |
Adobe's Image Trace guidance 2 explains conversion from raster images into editable vector artwork. That is one design tool; it does not establish whether every generated detail will print properly on a paddle. Our designer reviews the selected direction against the actual product template.
What Does the Designer Need to Make the Design Producible?
The selected picture shows intent. I then need a drawing that tells the team where the graphics belong and which physical parts have separate requirements.
The designer fits the selected concept to the chosen paddle outline, prepares front and back artwork, and resolves logo, color and component details with the production team. Keep the accepted revision identifiable.
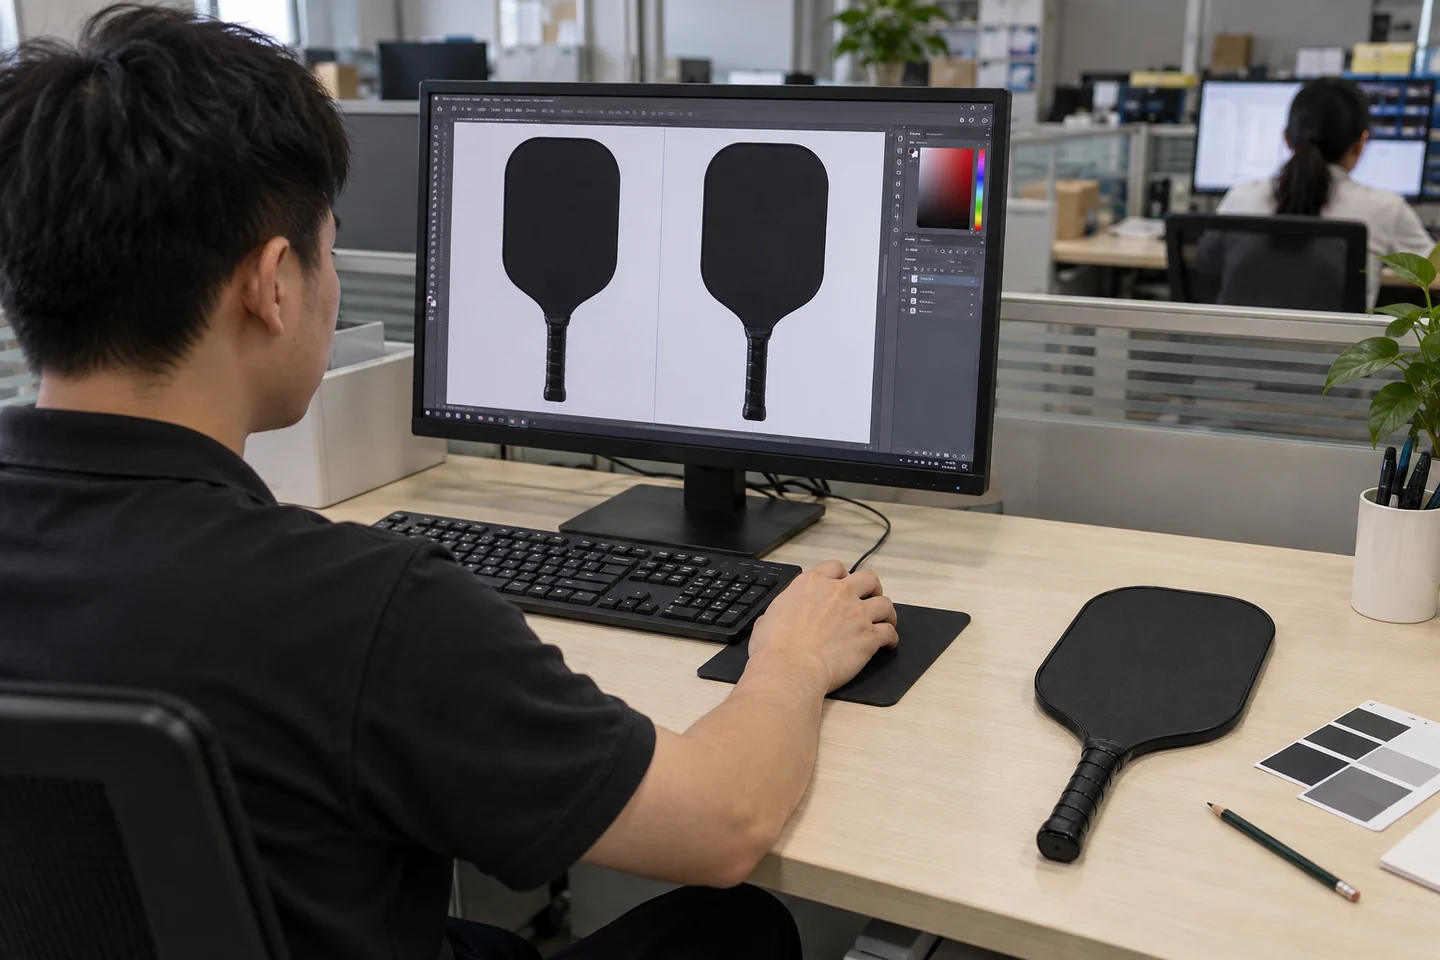
Move from visual direction to a defined layout
Our designer checks the front and back against the chosen shape, including the shoulder and throat area. We discuss fine graphics and edge placement before promising that every feature in the concept can be reproduced. If a detail needs changing, I show the buyer the proposed adjustment and obtain confirmation.
Keep the core and thickness on the configuration sheet. They should not change because the concept image happens to show a different side profile. The same applies to the grip and edge color: confirm them separately instead of reading them from an ambiguous rendering.
| Production-review item | What the team resolves | What the buyer confirms |
|---|---|---|
| Outline | Artwork fits the selected paddle shape | The selected shape remains the intended one |
| Front and back | Separate layouts and orientation | Both faces are reviewed |
| Logo and pattern | Editable graphics and clear placement | Correct mark, spelling and layout |
| Color and finish | Proposed production approach | References and sample-review method |
| Components | Grip, edge, ring and butt-cap choices | Which parts are included in the request |
| File version | Named revision and viewable proof | The exact version approved for sampling |
When existing Illustrator assets are involved, Adobe's file packaging guidance 3 explains collecting linked graphics and the document for handoff. Check permission before sharing font files. The practical goal is that the designer can open the intended assets and identify the correct version.
Our T700 branding options show the component choices to discuss. A custom logo ring or butt cap requires dedicated tooling and a project quotation. Adding it to a concept does not include that tooling automatically.
What Should I Approve Before the Sample Is Made?
An approval message is useful only when I can identify the build and drawing it refers to. I bring those references together before arranging a custom sample.
Confirm the configuration, front and back proof, component choices and artwork revision in writing. Then agree on the sample scope, charges and shipment details, and review the physical sample before approving production.
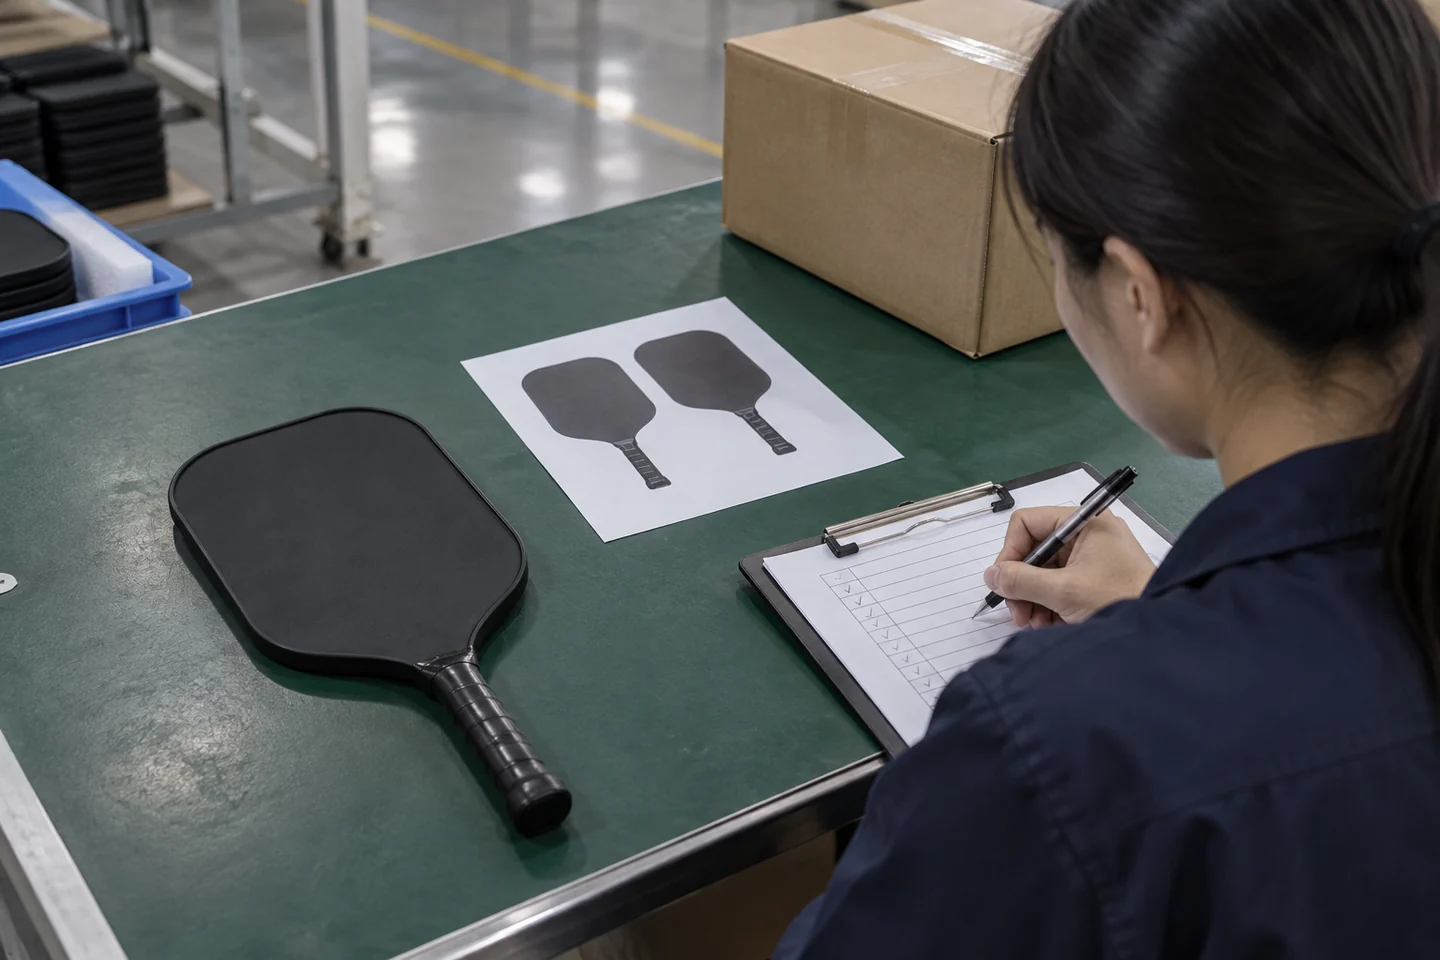
Keep one sample brief with the selected shape, face, core, thickness and accepted drawing. Include quantity, packaging requests and the delivery destination. If you change a choice after approval, identify the item and ask us to confirm the effect on the sample plan.
For a sports-brand launch in New Zealand, the event date can be a useful planning input. Send it early so we can discuss the actual sequence. Design revisions, sampling and international transport each need confirmation; an event date alone does not set a factory shipment commitment.
Check the sample against the approved direction
Compare the logo, front and back layout, colors and components with the accepted proof. Check the physical build against the configuration record and collect player feedback where relevant. Mark a new preference separately from a mismatch so I can respond to the right issue.
Our sampling-to-production guide explains the connection between these stages. The selected concept begins the design work; the approved sample and specification give the next stage a concrete reference.
Conclusion
Start without a drawing by selecting the shape, face material and core on our website and sharing your rough logo. We can develop AI design options, help you choose a direction, and have our designer turn it into a producible paddle layout. Keep the configuration and approved revision together as the project moves into sampling.
Start Your Paddle Design Brief
Review the custom T700 paddle, then send your shape and core selections, thickness, rough logo, color direction, quantity and delivery destination. Tell us which choices are still open and whether you need help developing the artwork.